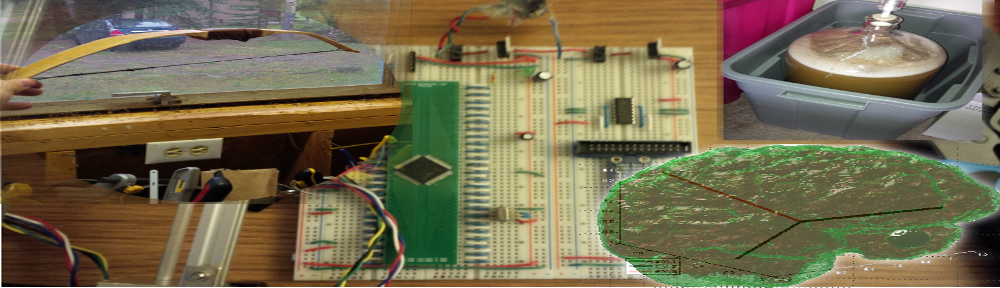
DIY has always been a passion of mine, as is shown in a number of my technical hobbies such as circuit board design, software design, and so on. One hobby that I’ve had a chance to get into over the past few years has been bowyery: designing and crafting traditional bows from scratch. My primary source of information was tinkering with various home made designs, along with insight from the Bowyer’s Bible series of books, which come in four volumes. First timers may also benefit from checking out the Clay Hayes YouTube video se"General Construction" doesn't have any sub pages.ries, which includes a number of video tutorials on bowyery as well as making a traditional Flemish Twist bowstring, and the RMSgear tutorial on serving a bowstring.
Spare time is hard to come by these days, so I usually only get to carve a couple bows each year when I take a short vacation in interior BC at our cabin. First, we start with a wooden stave. I prefer working with hickory, red oak, and sometimes maple. I’ve found it surprisingly hard to get the right type and size of material locally, until I came up PJ White Hardwoods Ltd. There’s a wood shop two yards down where there are apprentices and coop students will rip, cross-cut, and square/plane the lumber for you for a couple dollars, which is a tremendous help if you don’t have access to a machine shop or need to cut the lumber to sizes that will fit in your car.
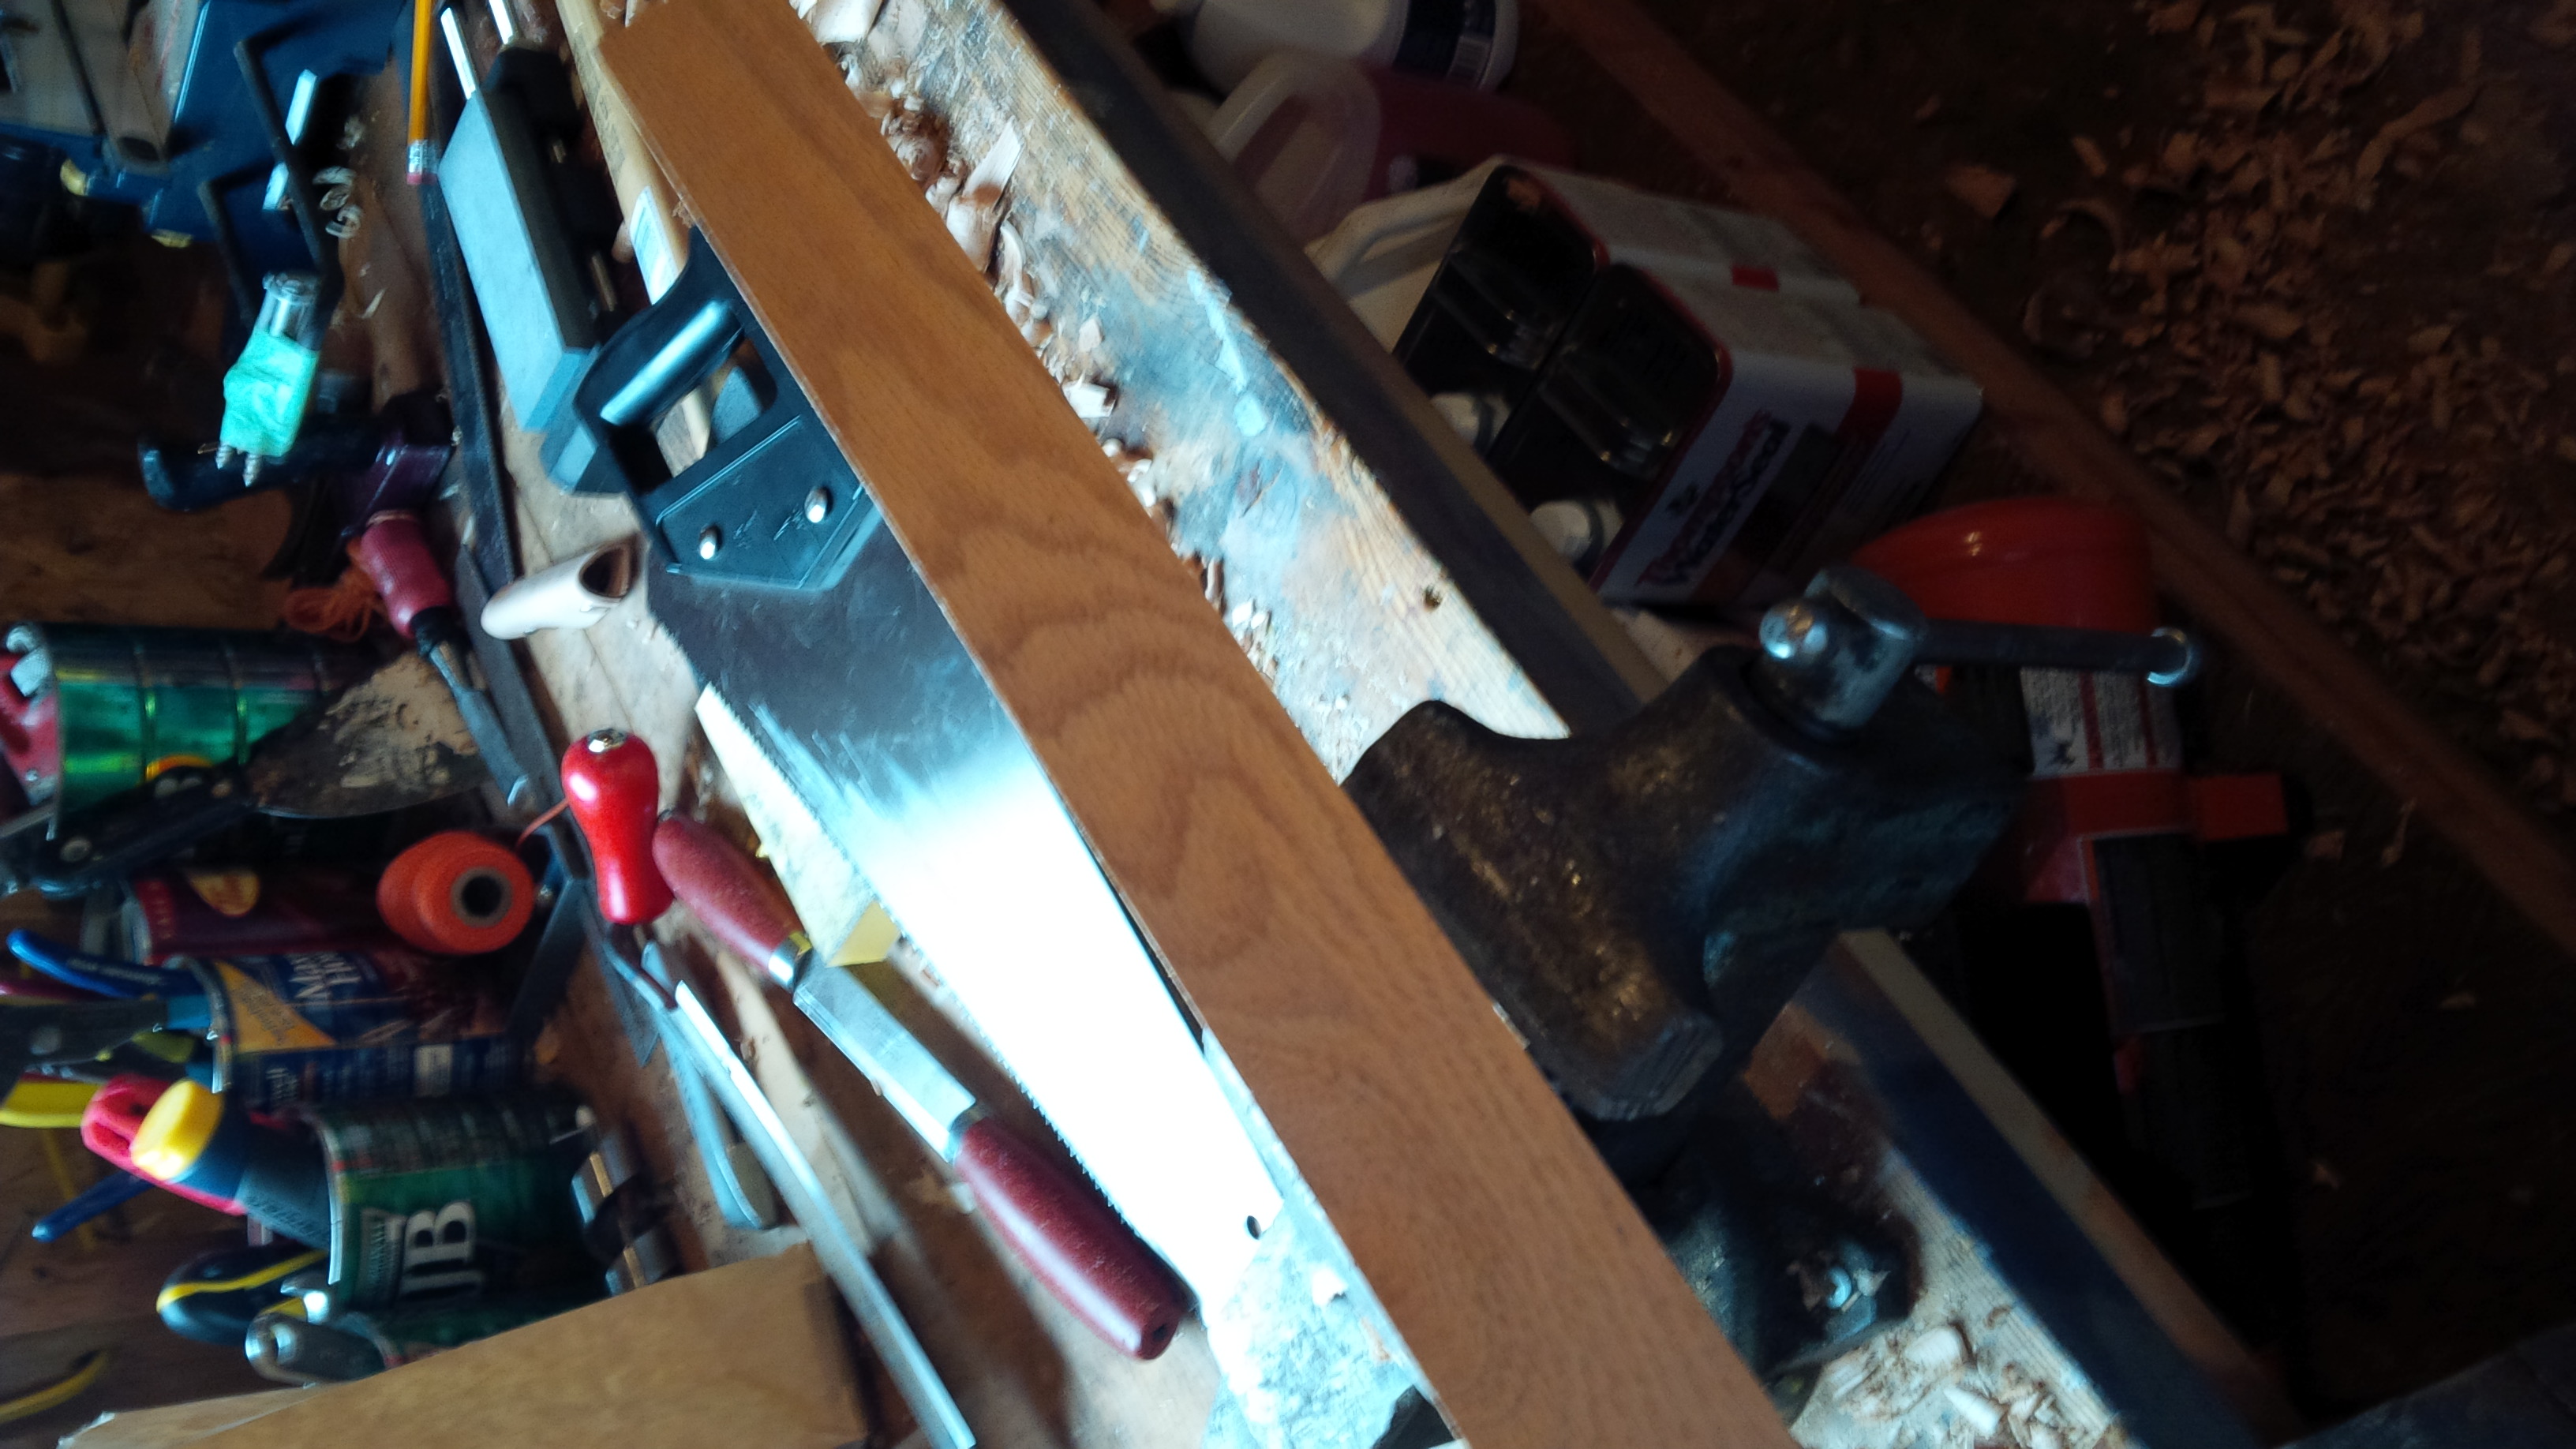
For the majority of the bows I carve, the only tools used are a traditional draw knife, a small utility knife, and a bench vise. The only tool that was hard to find was the draw knife, which was hard to find, even with a number of online shopping sites available these days. In the end, I found a good drawknife and a general purpose pushknife at Lee Valley Tools that have worked very well so far.
First, we pick a good piece of lumber, and draw the profile of the bow with a pencil.
Bare board
Next, using just a draw knife, we shave down the bow to the right profile, and take off layers of the back of the bow (the part facing away from the archer) so that the layer consists solely of a single concentric ring of the original tree.
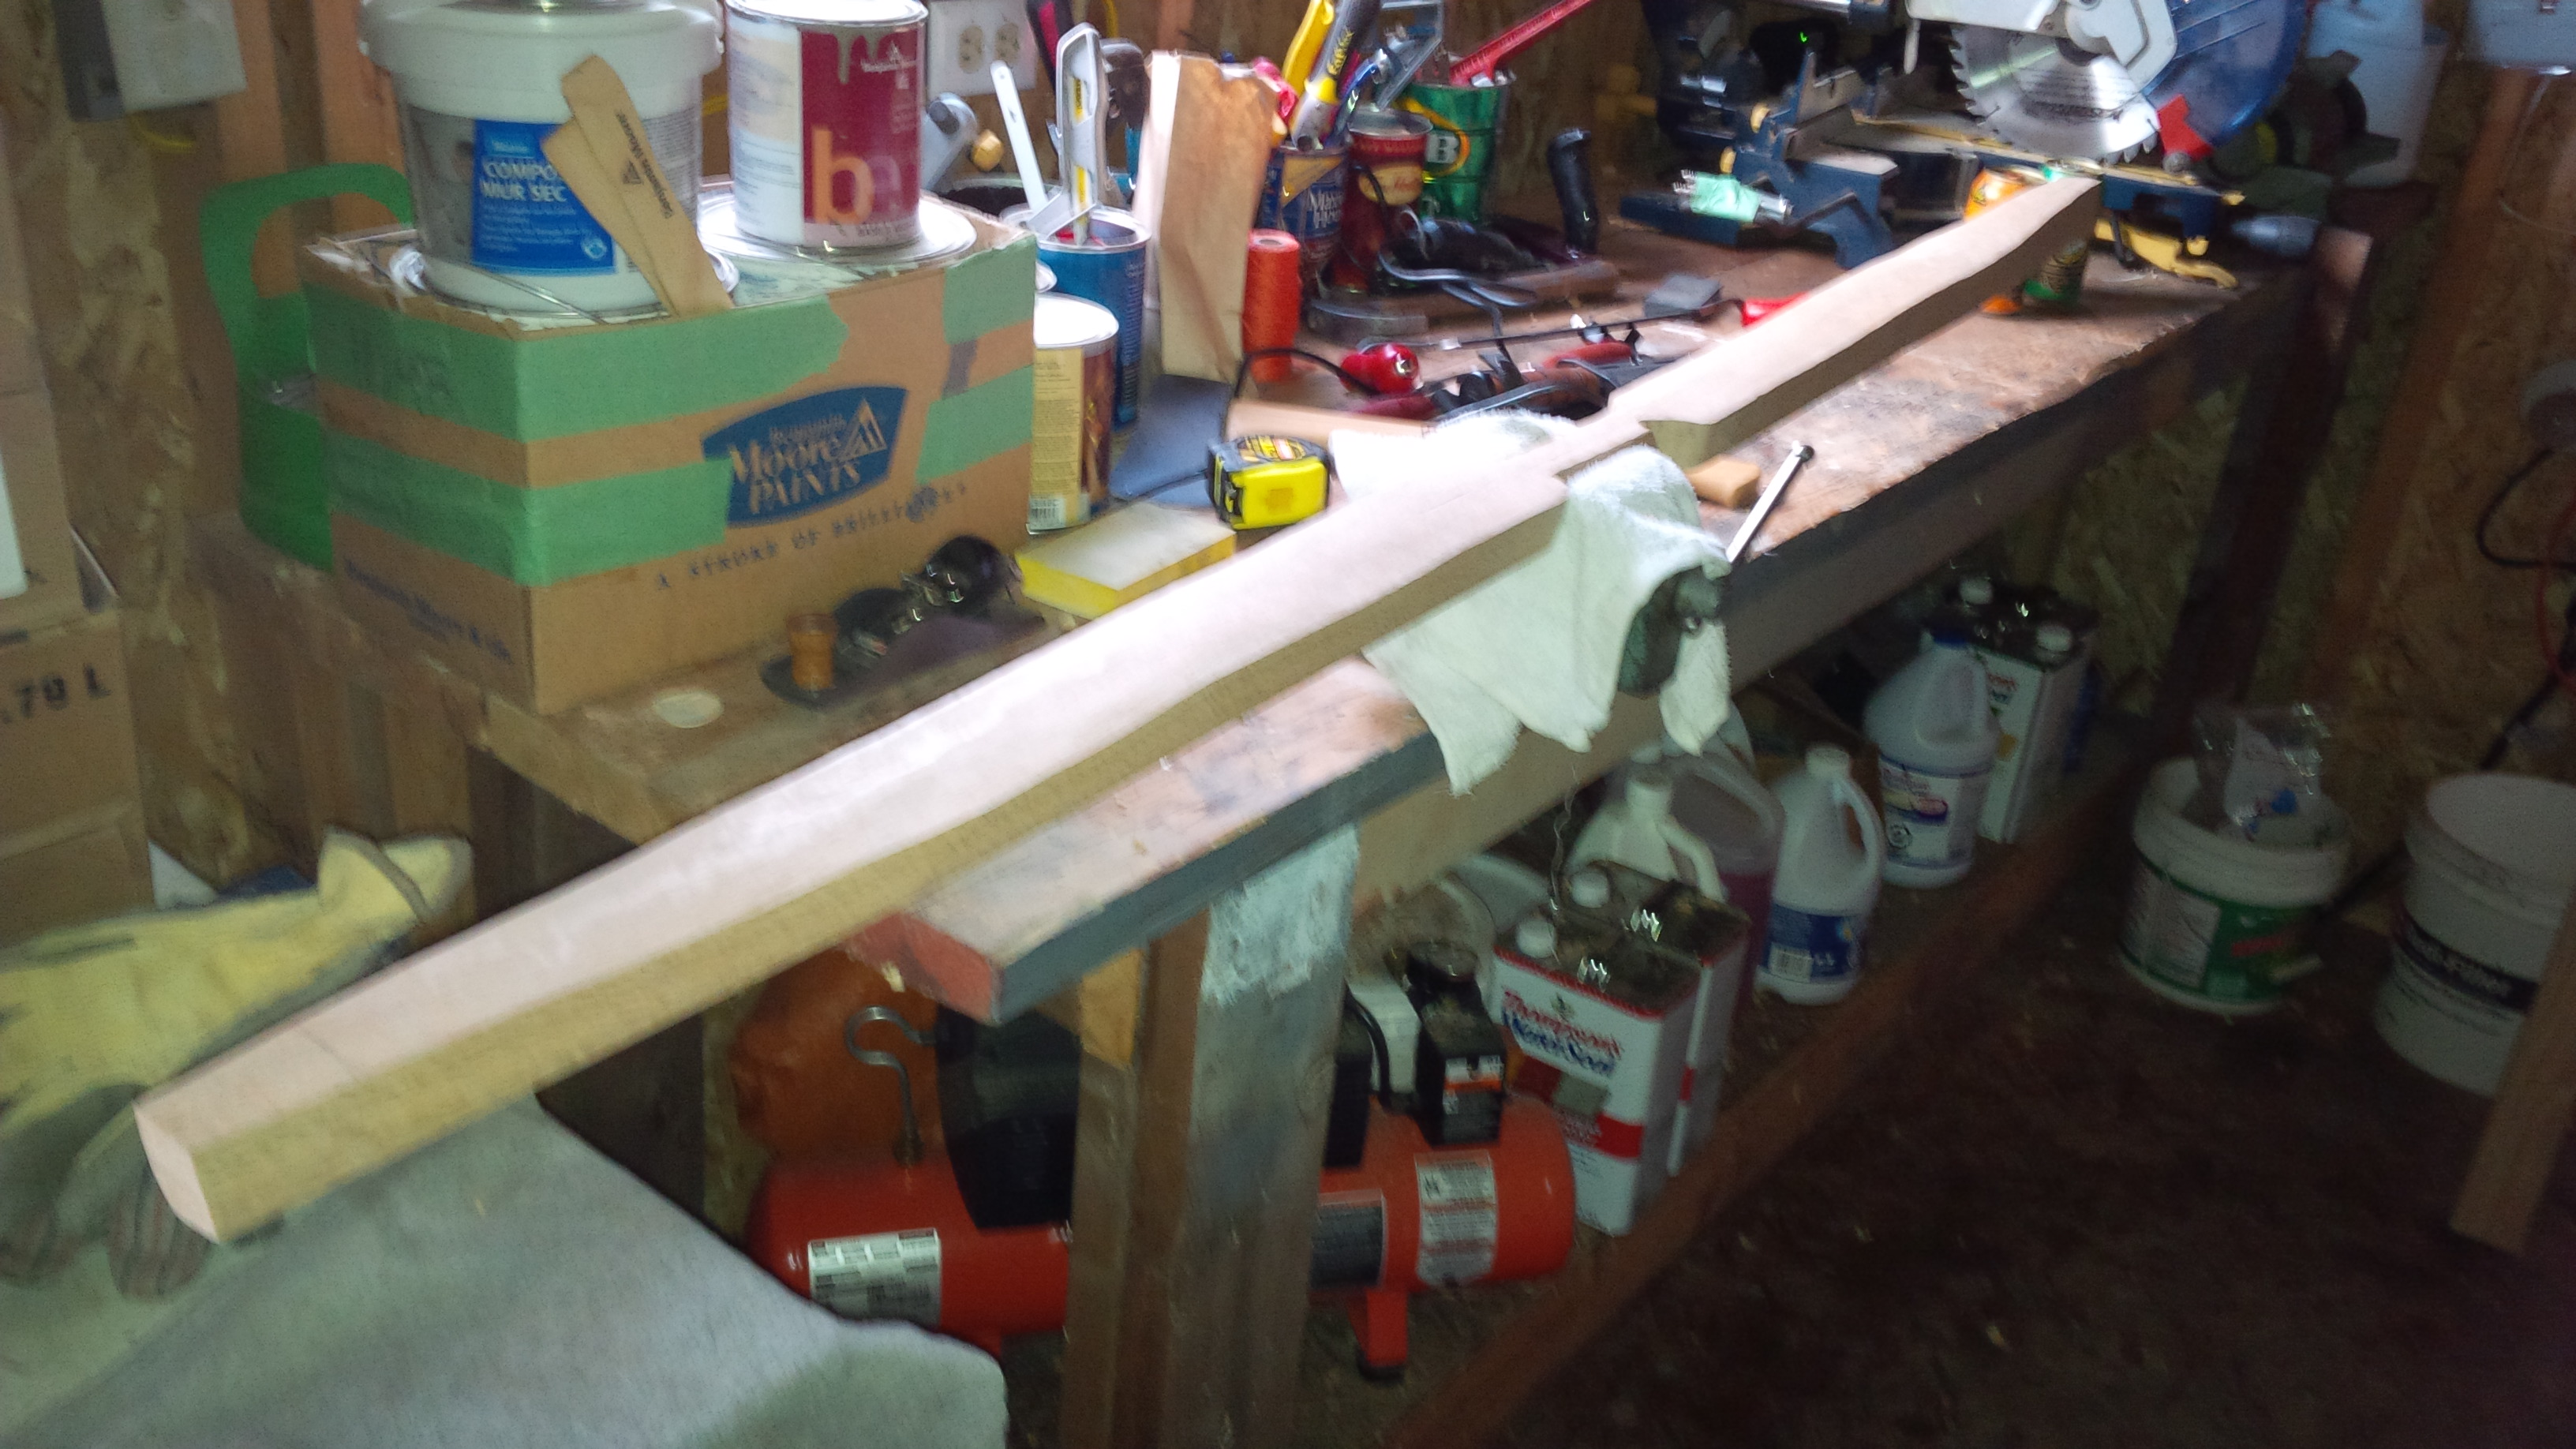
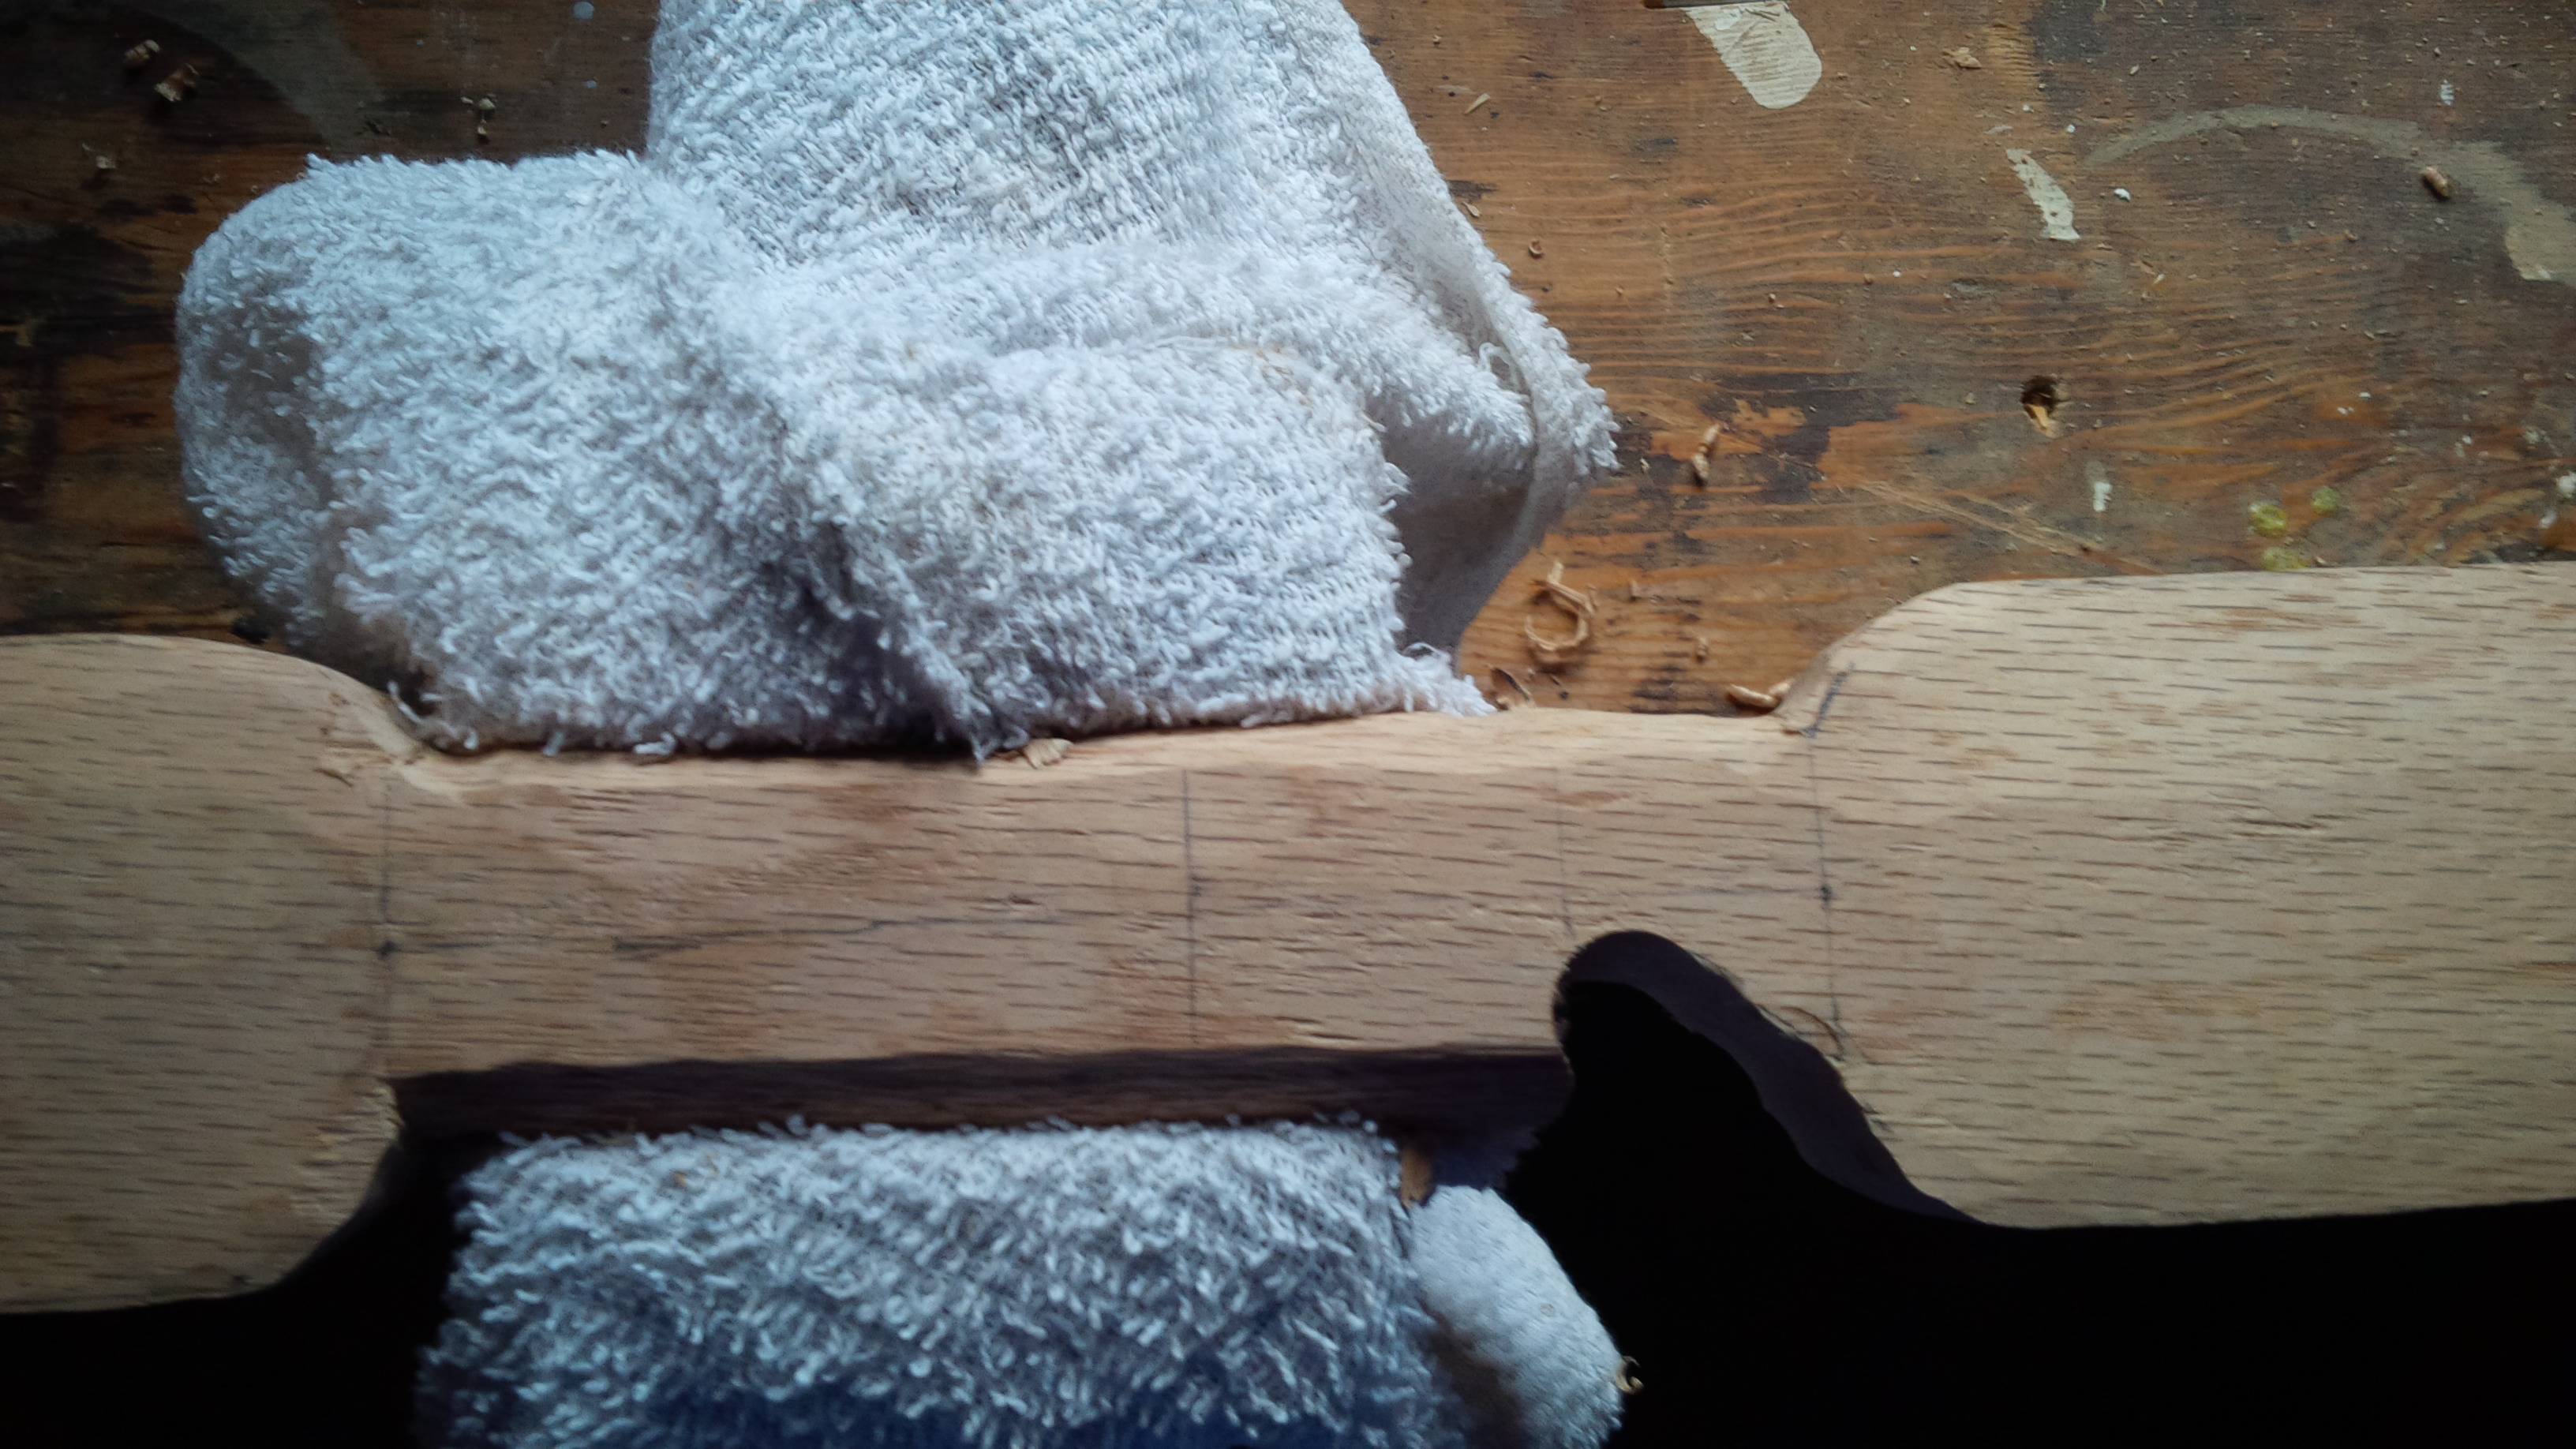
Bow cut to correct profile, now we just need to take some material off the belly and “chase a ring”, making all the wood on the back part of the same concentric ring of the original tree.
After “chasing a ring” on the bow and removing enough material from the belly, we can file out string knocks for the bow string, and start the tillering processing, where we repeatedly fine tune the bow by removing bits of material from the belly, and testing the shape of the bow when under stress from pulling the string. Typically, a spring scale is used during this process so the poundage of the bow can be determined (ie: how many pounds of force is generated by the bow when draw to full draw). Next, we can file out an arrow shelf off of which to fire the arrows.
Arrow shelf
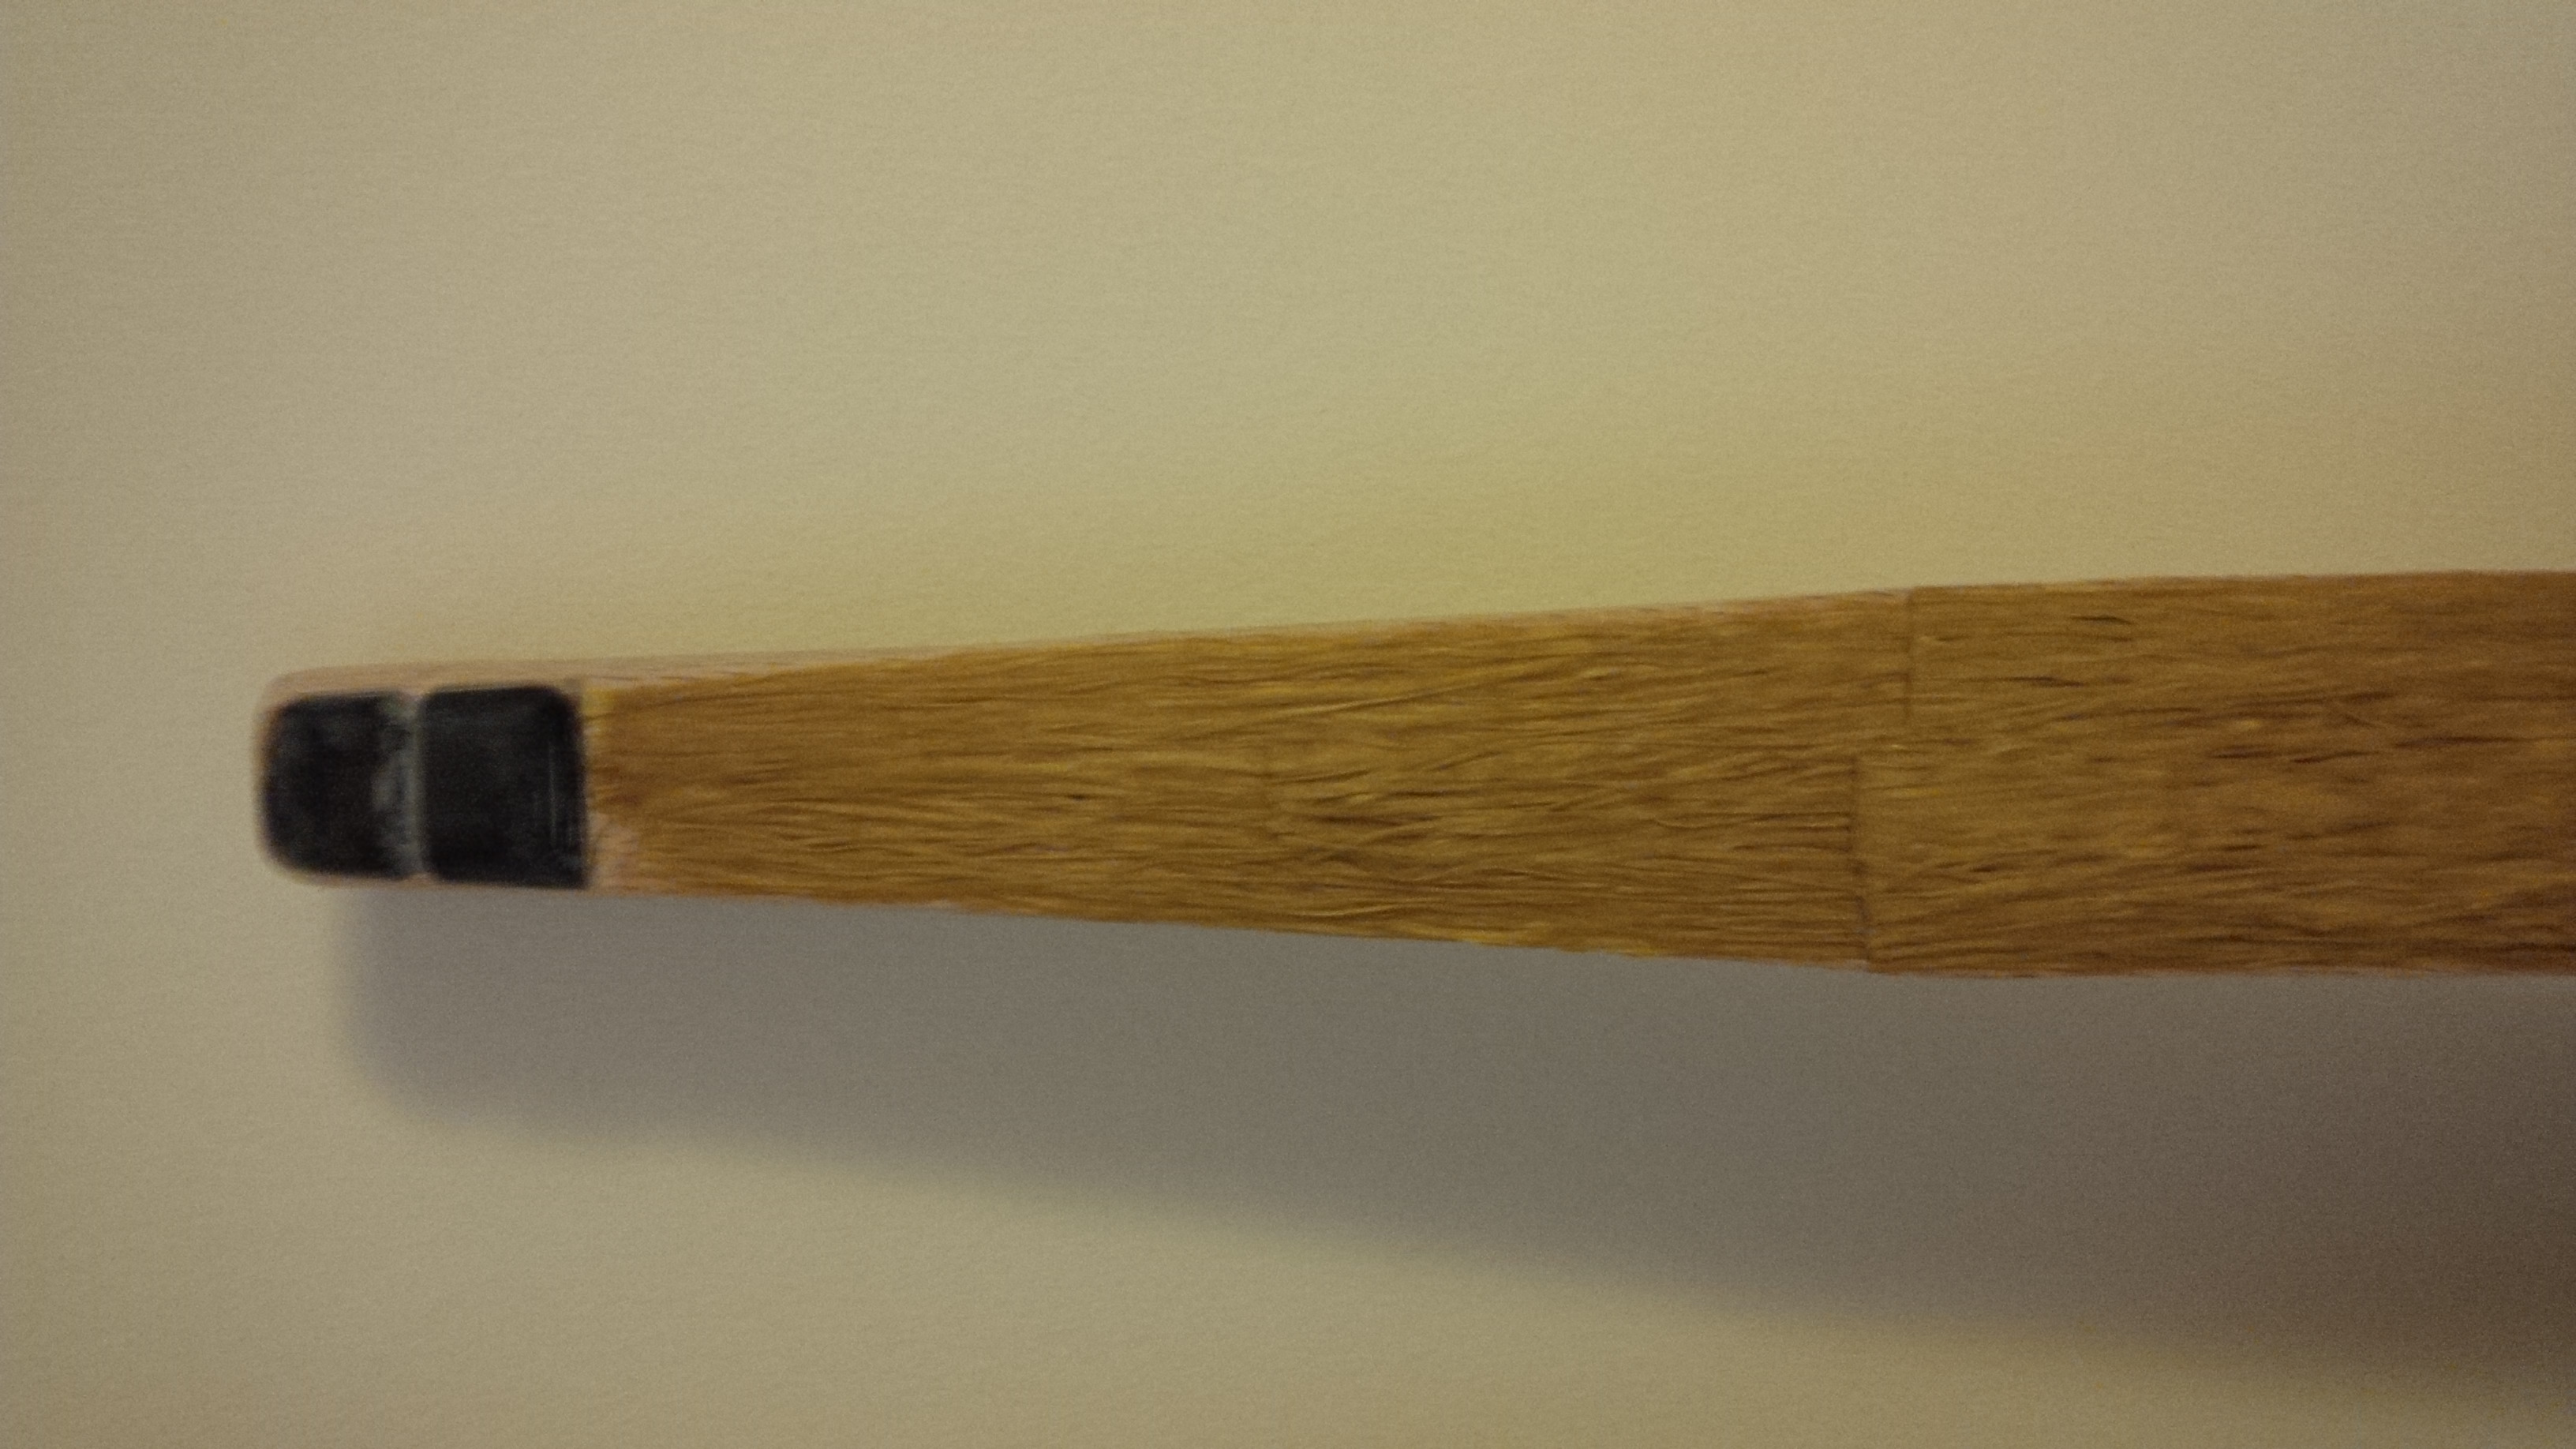
Optionally, we can add scales to the tips of the limbs, providing some additional support for the bowstring nocks, and also giving a more finished look to the bow. The ones shown below are buffalo horn scales.
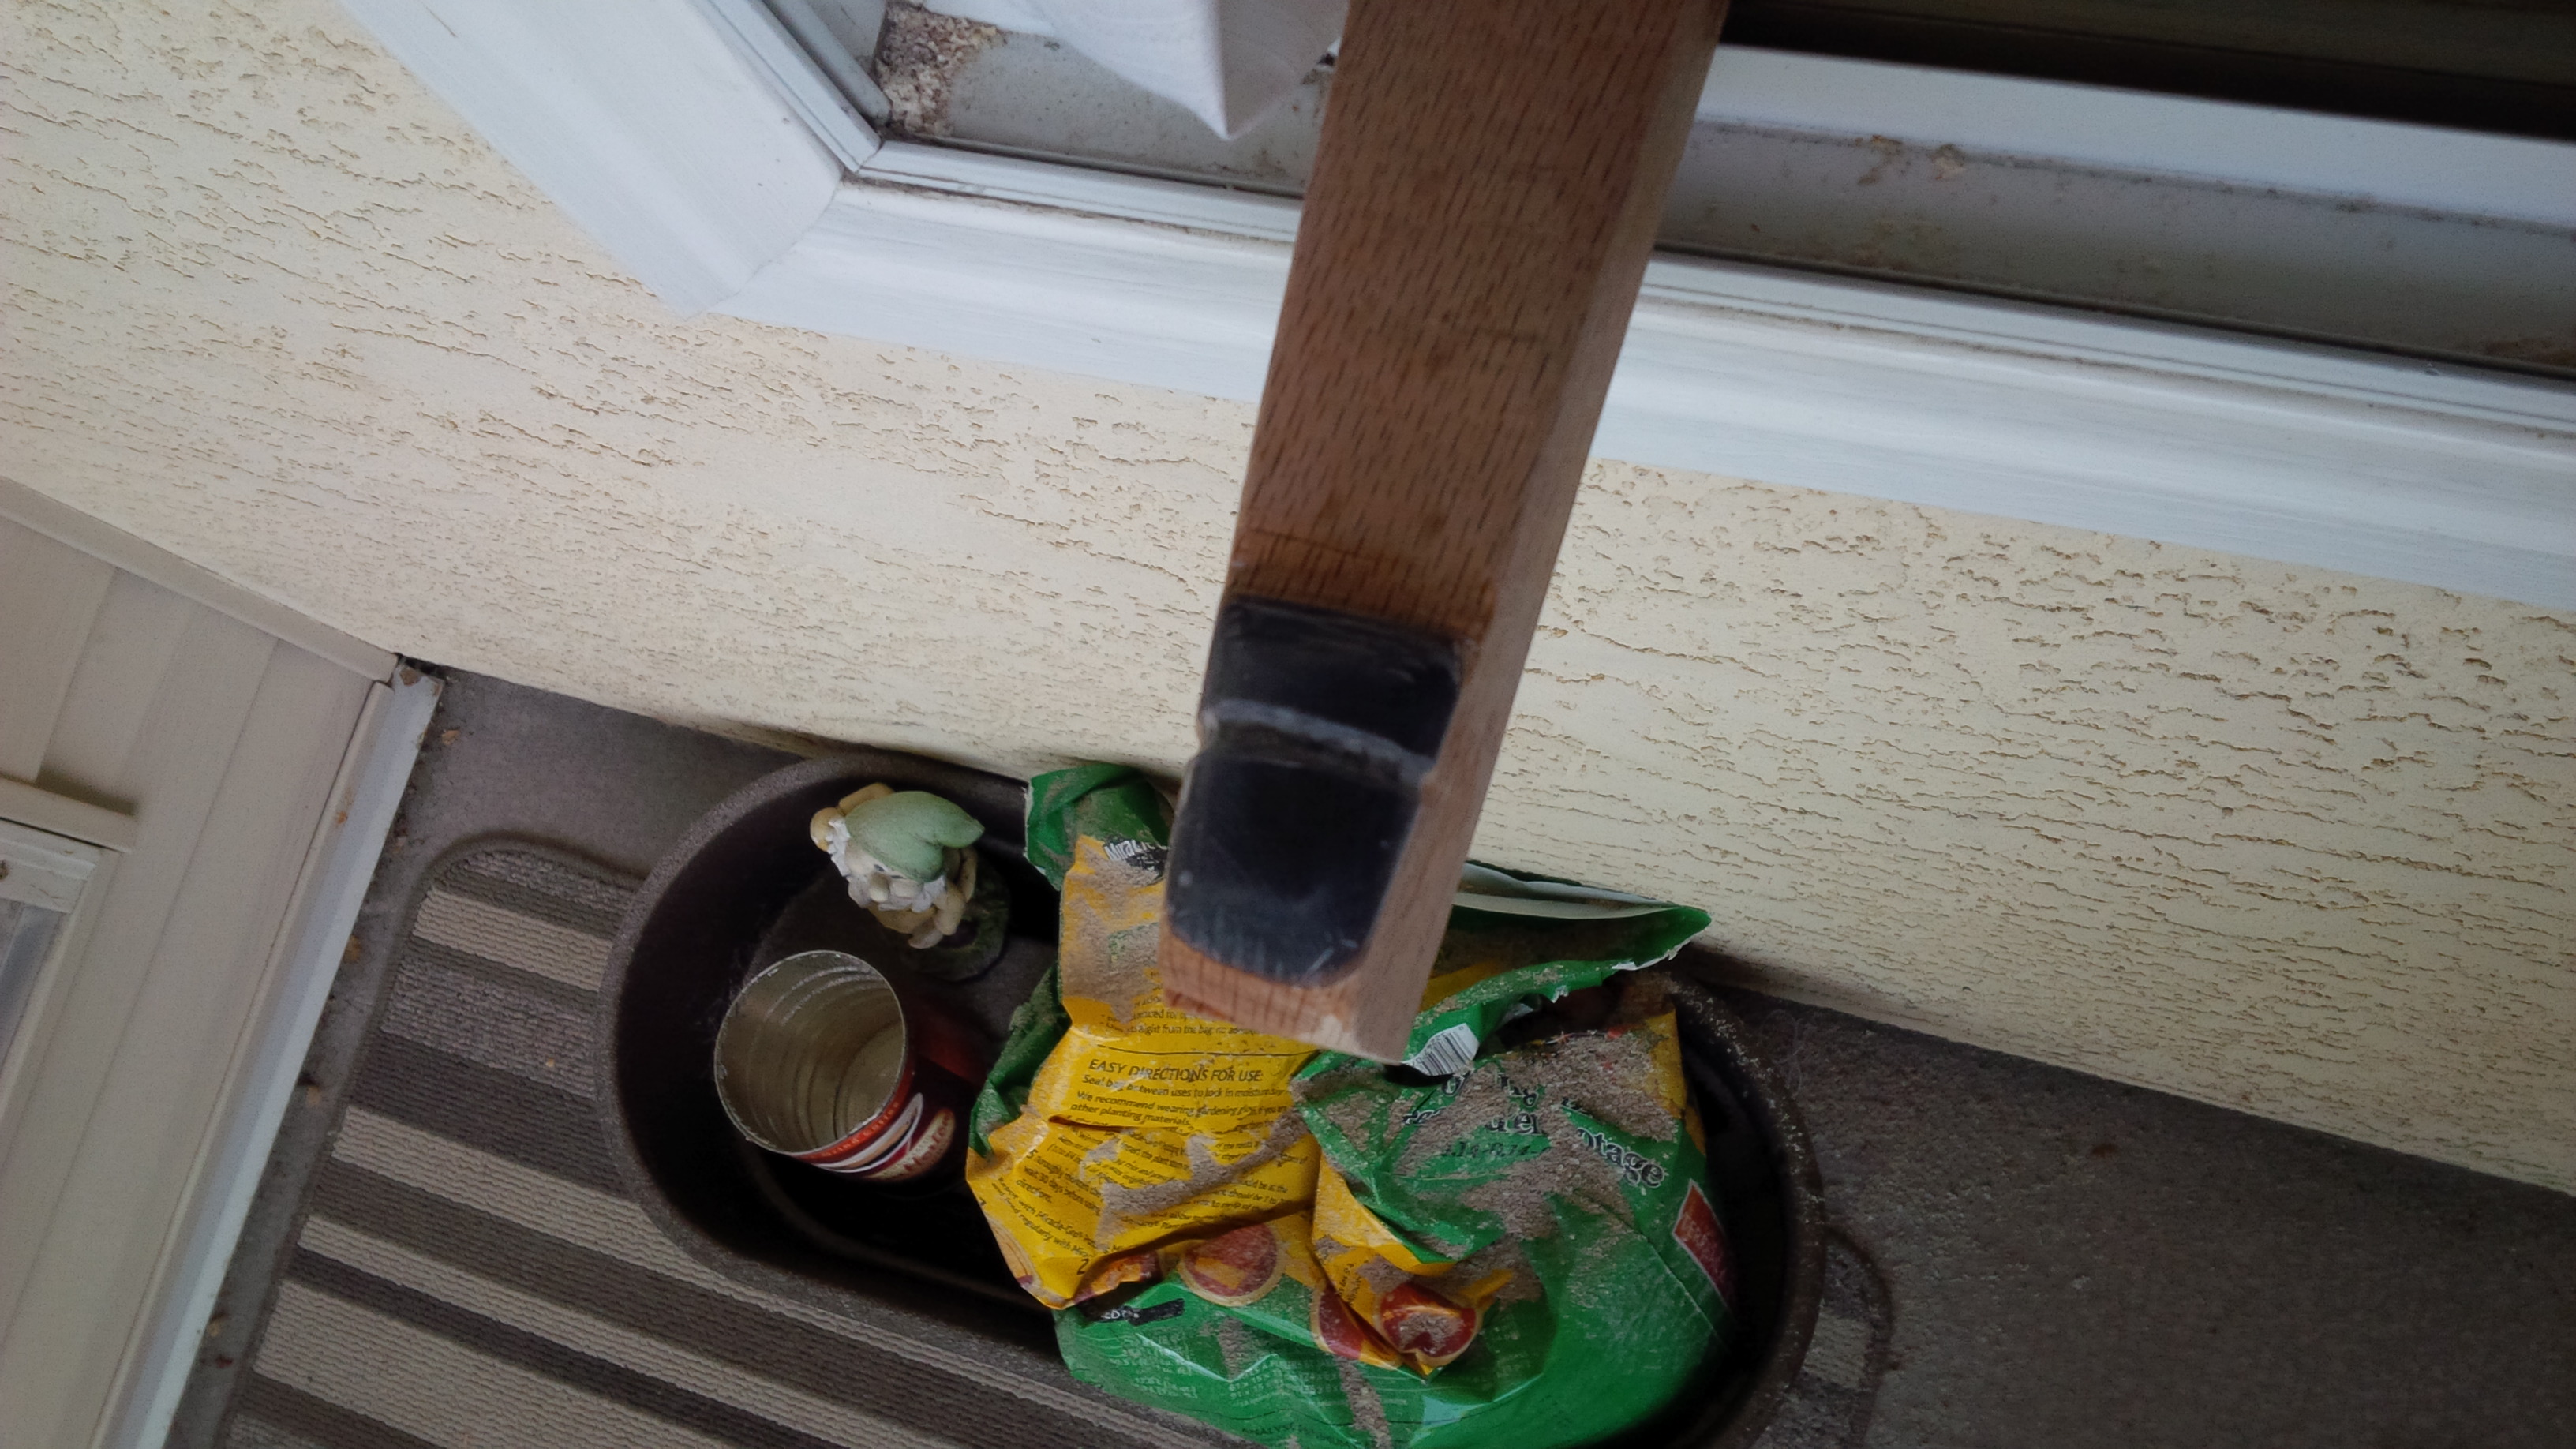
Buffalo horn scales on the limb tips.
Another optional but recommended step is to back the bow. This involves gluing a specific material to the back of the bow, giving it more strength (and potentially draw weight), and also helps prefer splinters forming into larger cracks as the bow is used.
Sinew backed bow.
Now, time for a cover for the handle. Some leather, a leather punch, and rivets and a rivet anvil make this an easy task.
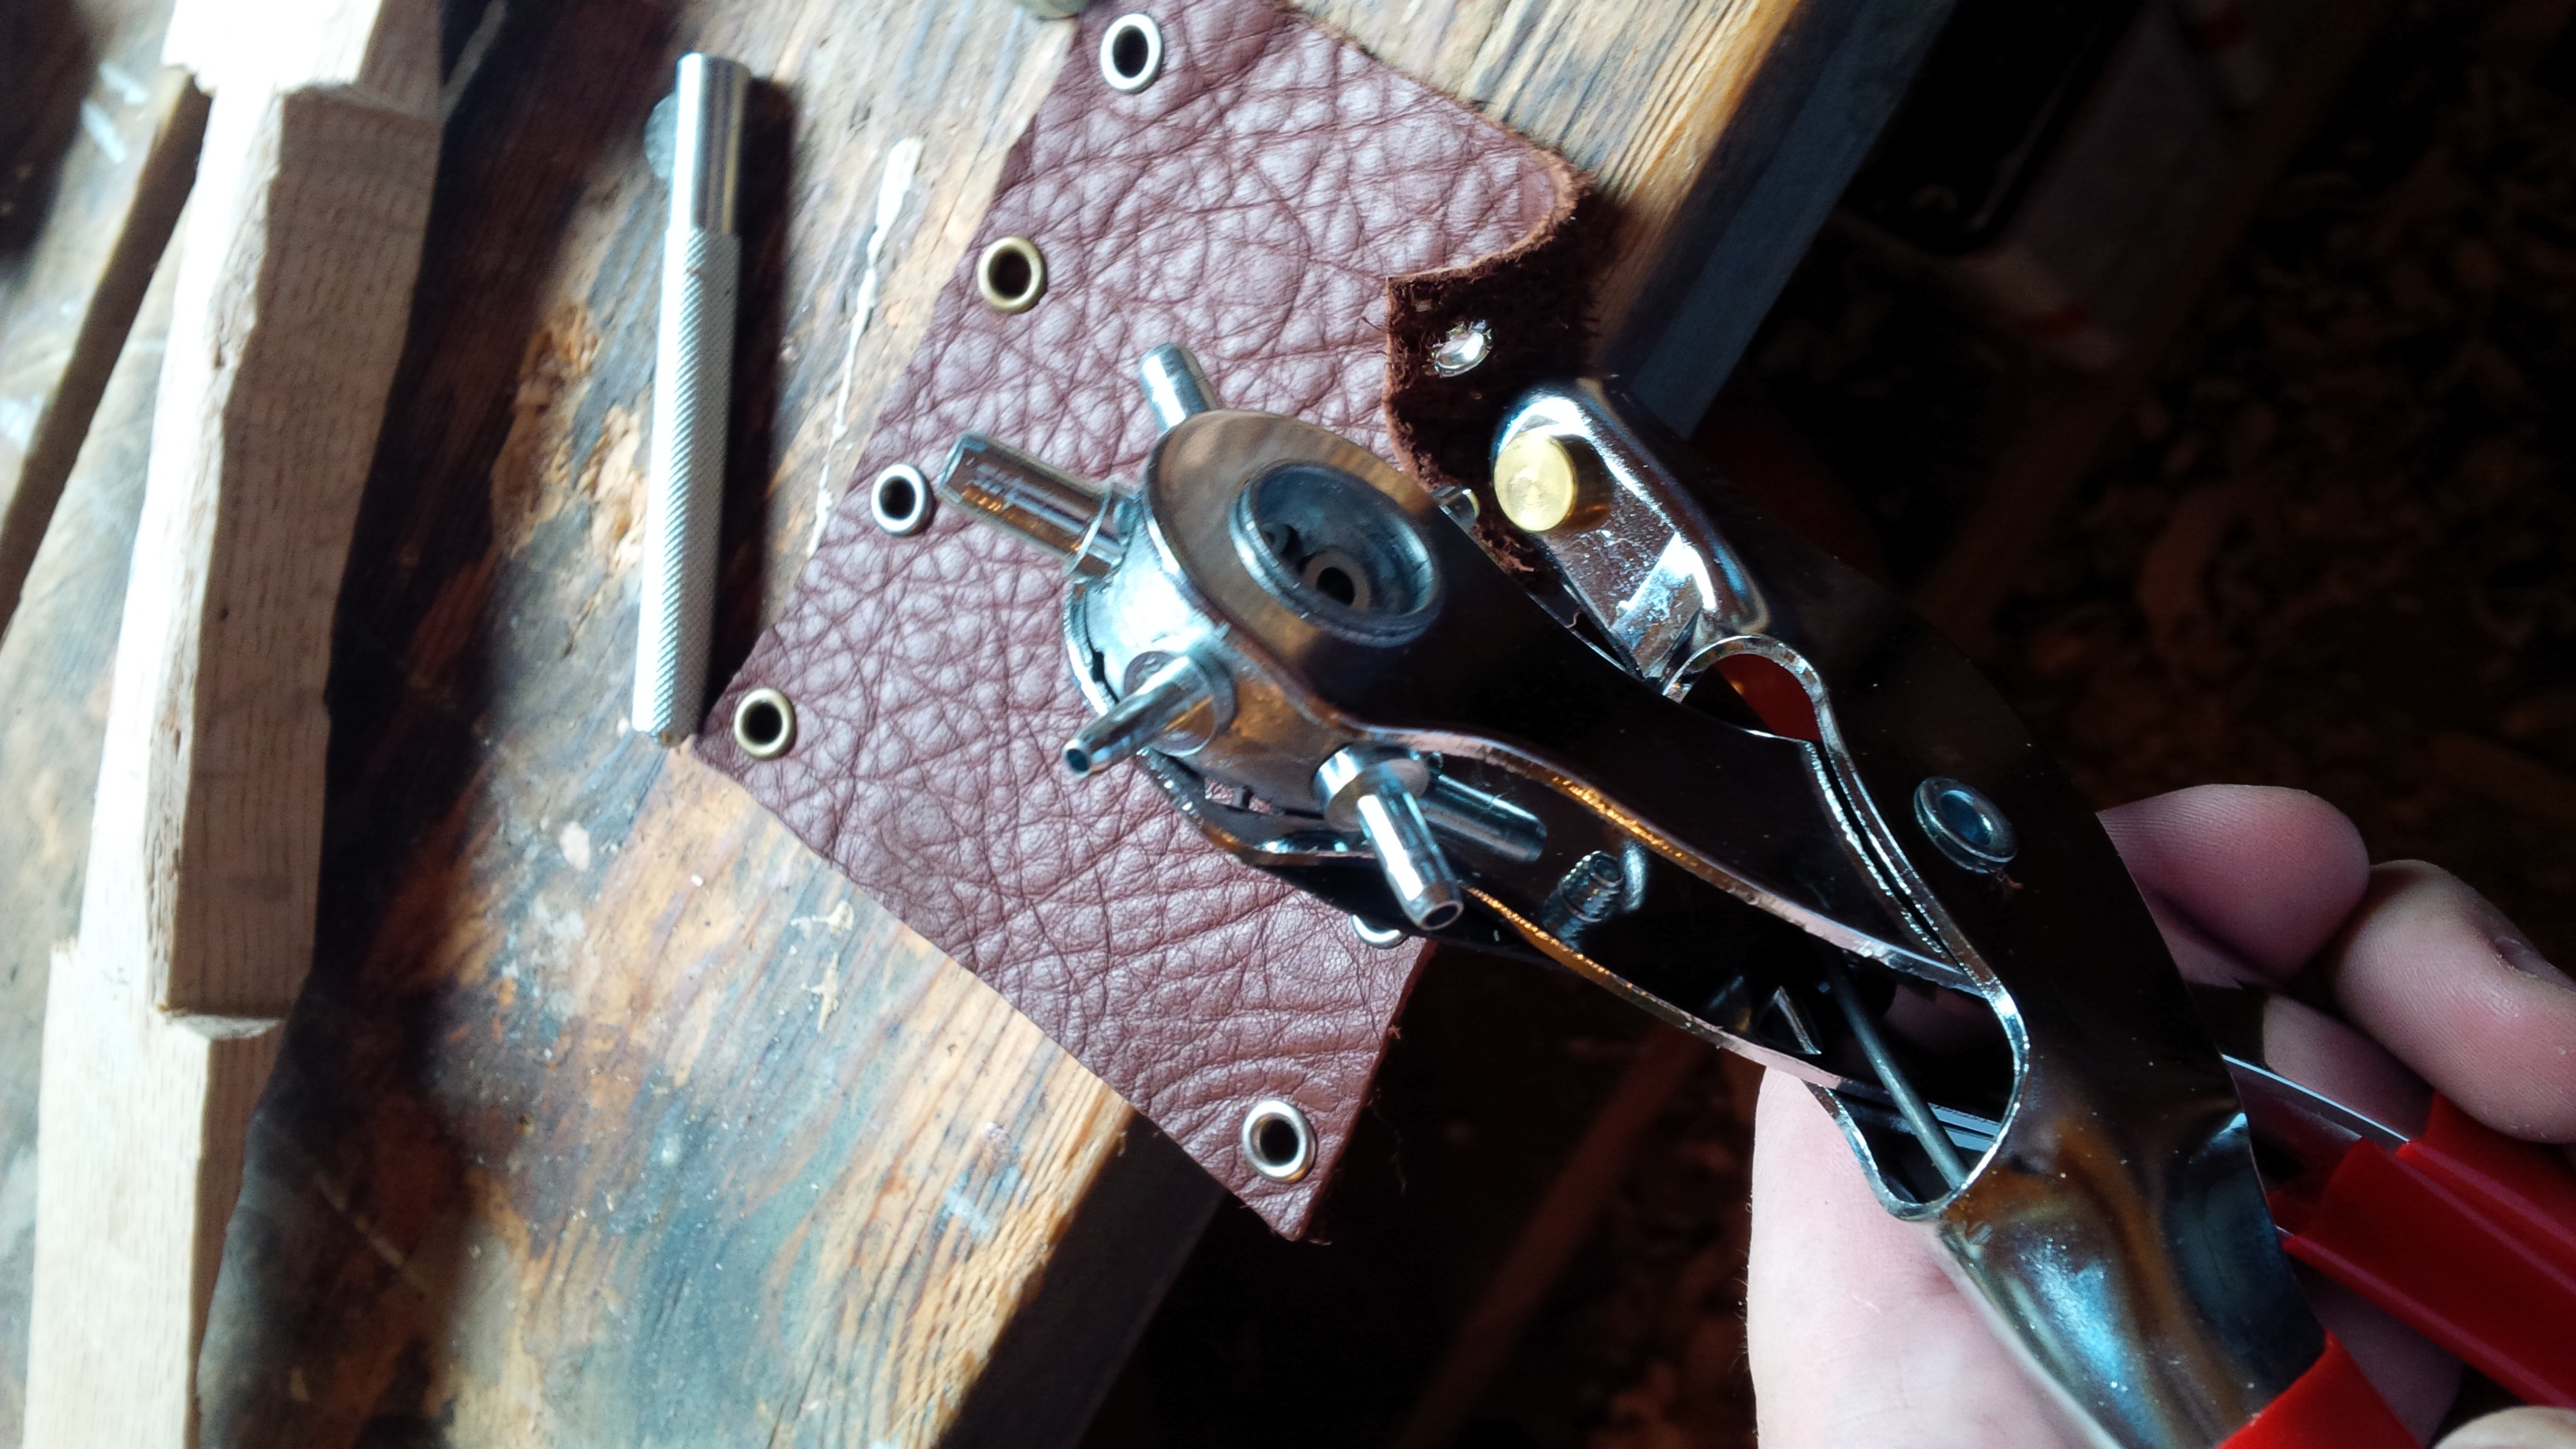
Finishing the handle cover.
Finally, we just need to make a string. I made a home made bowstring vise to hold the strands in place:
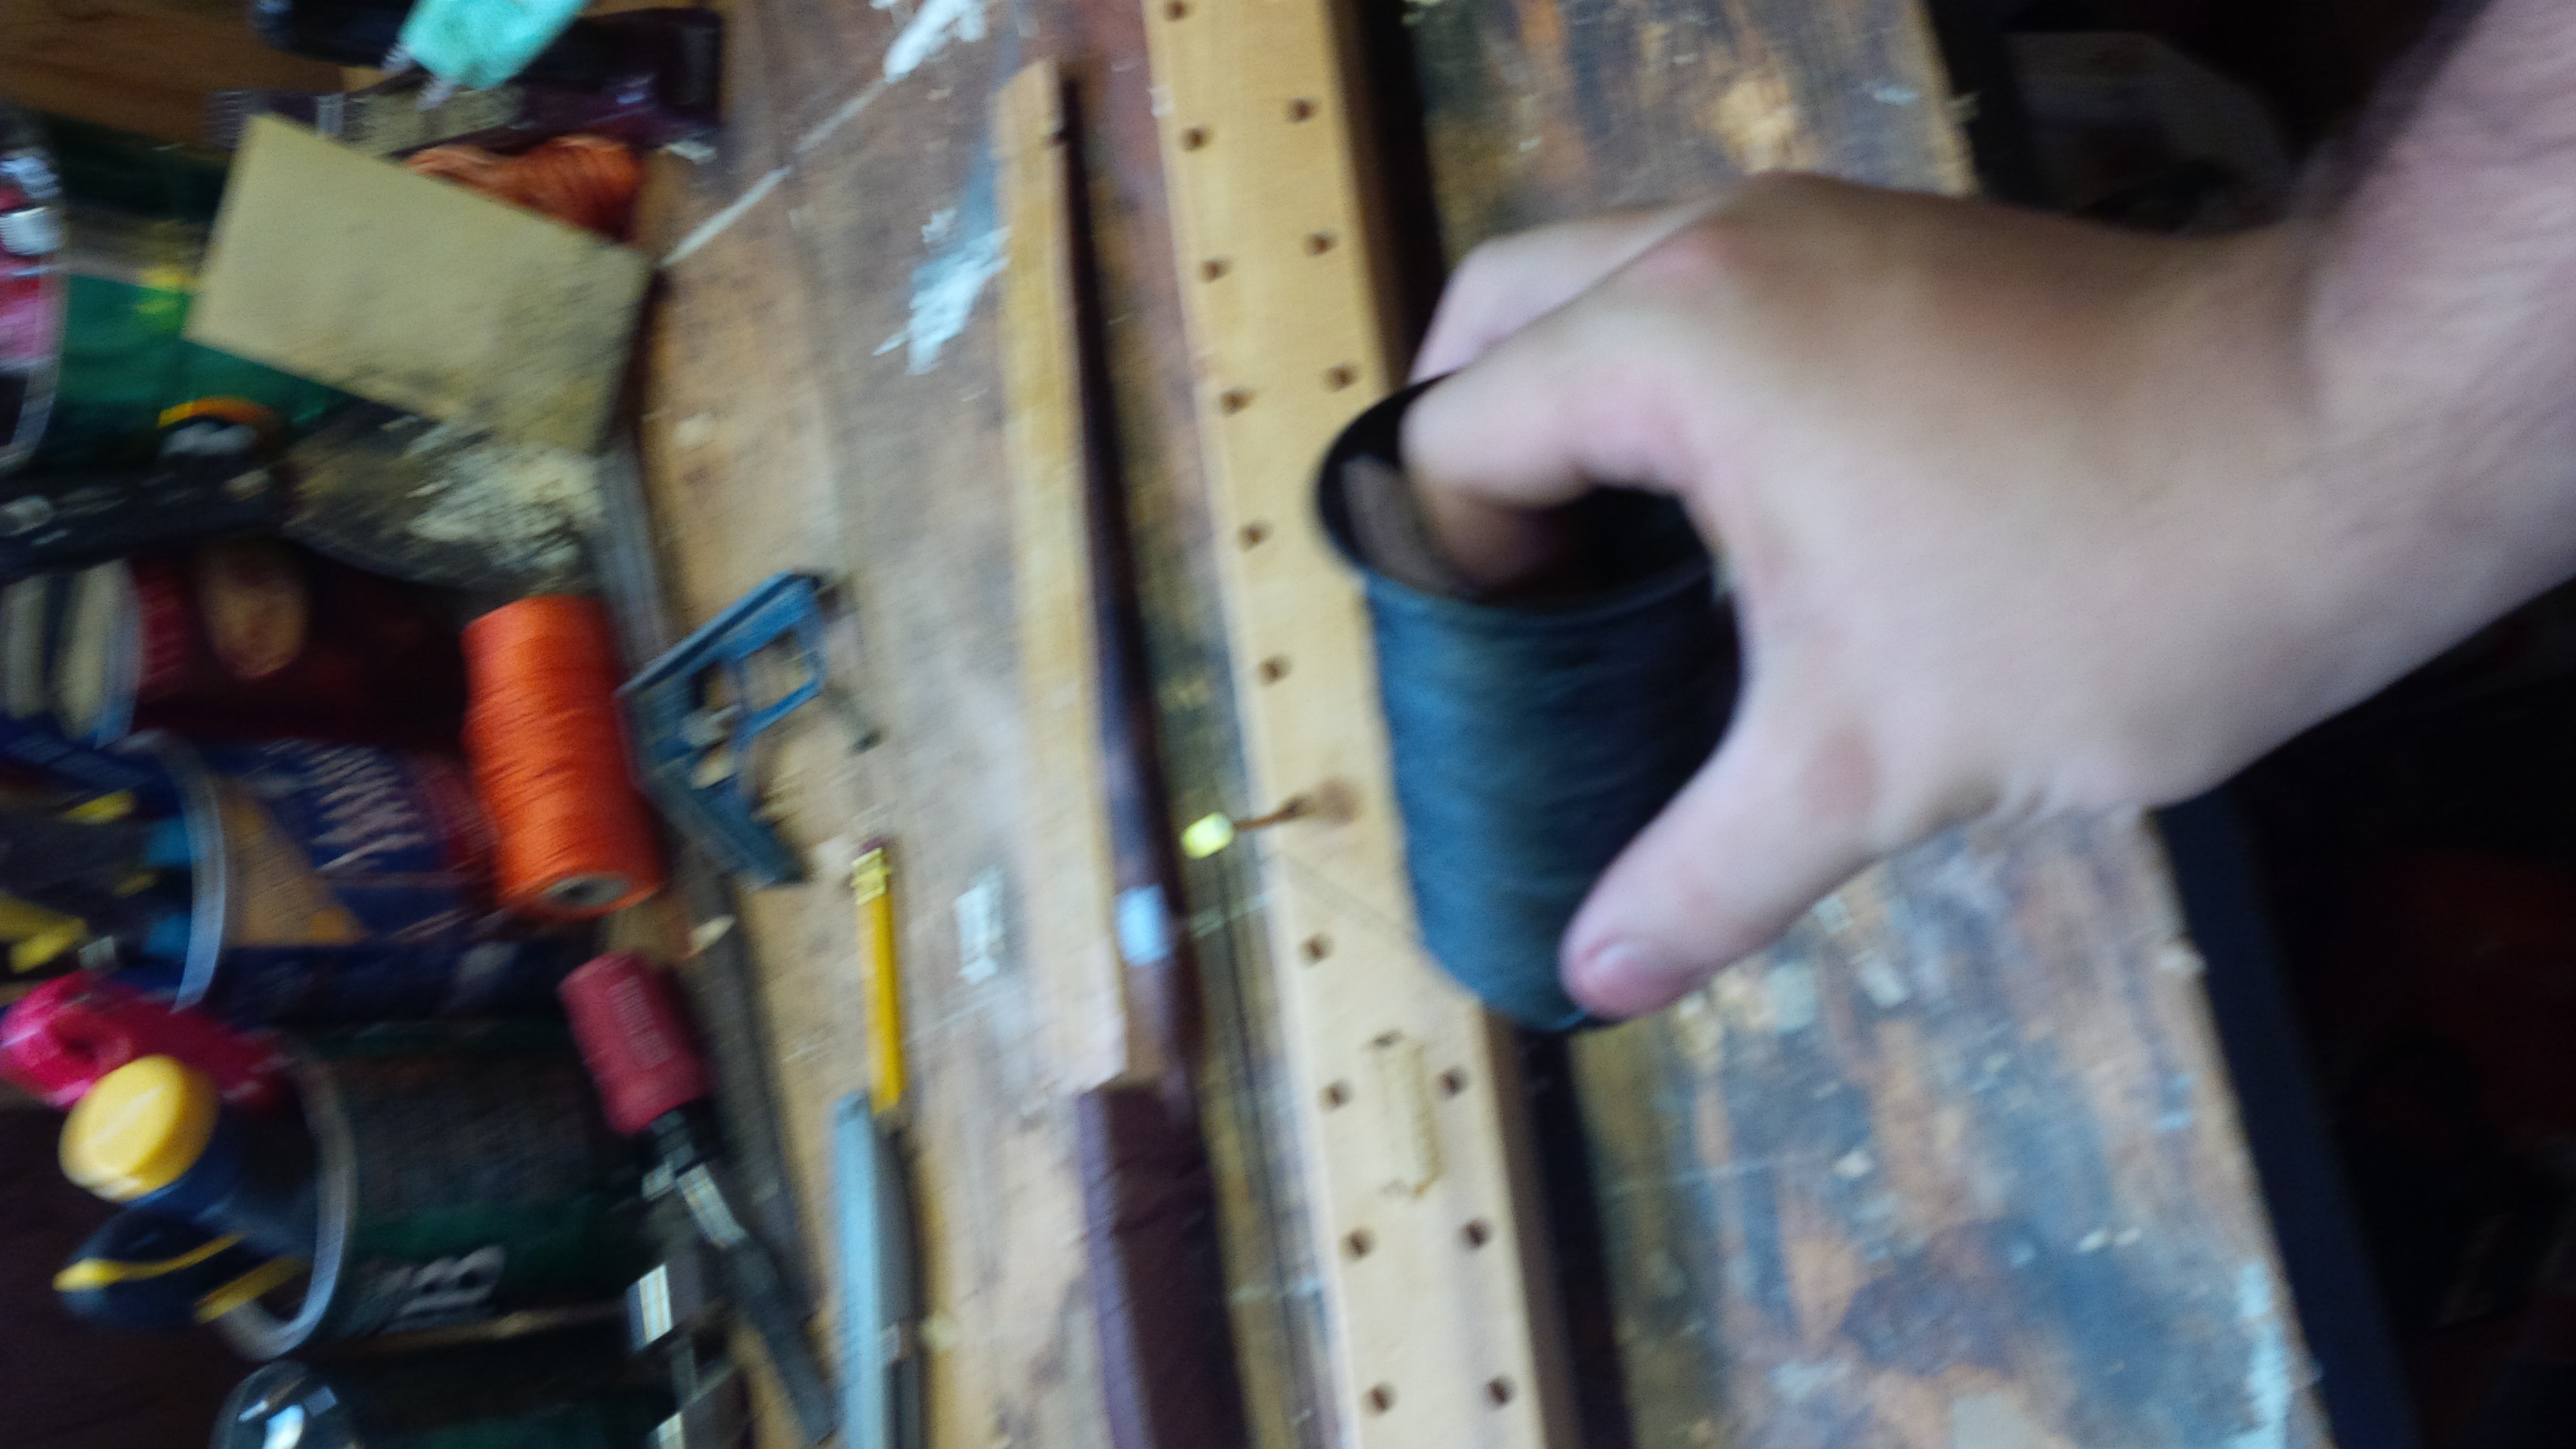
Bowstring vise.
Then, we liberally apply beeswax and then finish the string with serving material, and then string the bow.
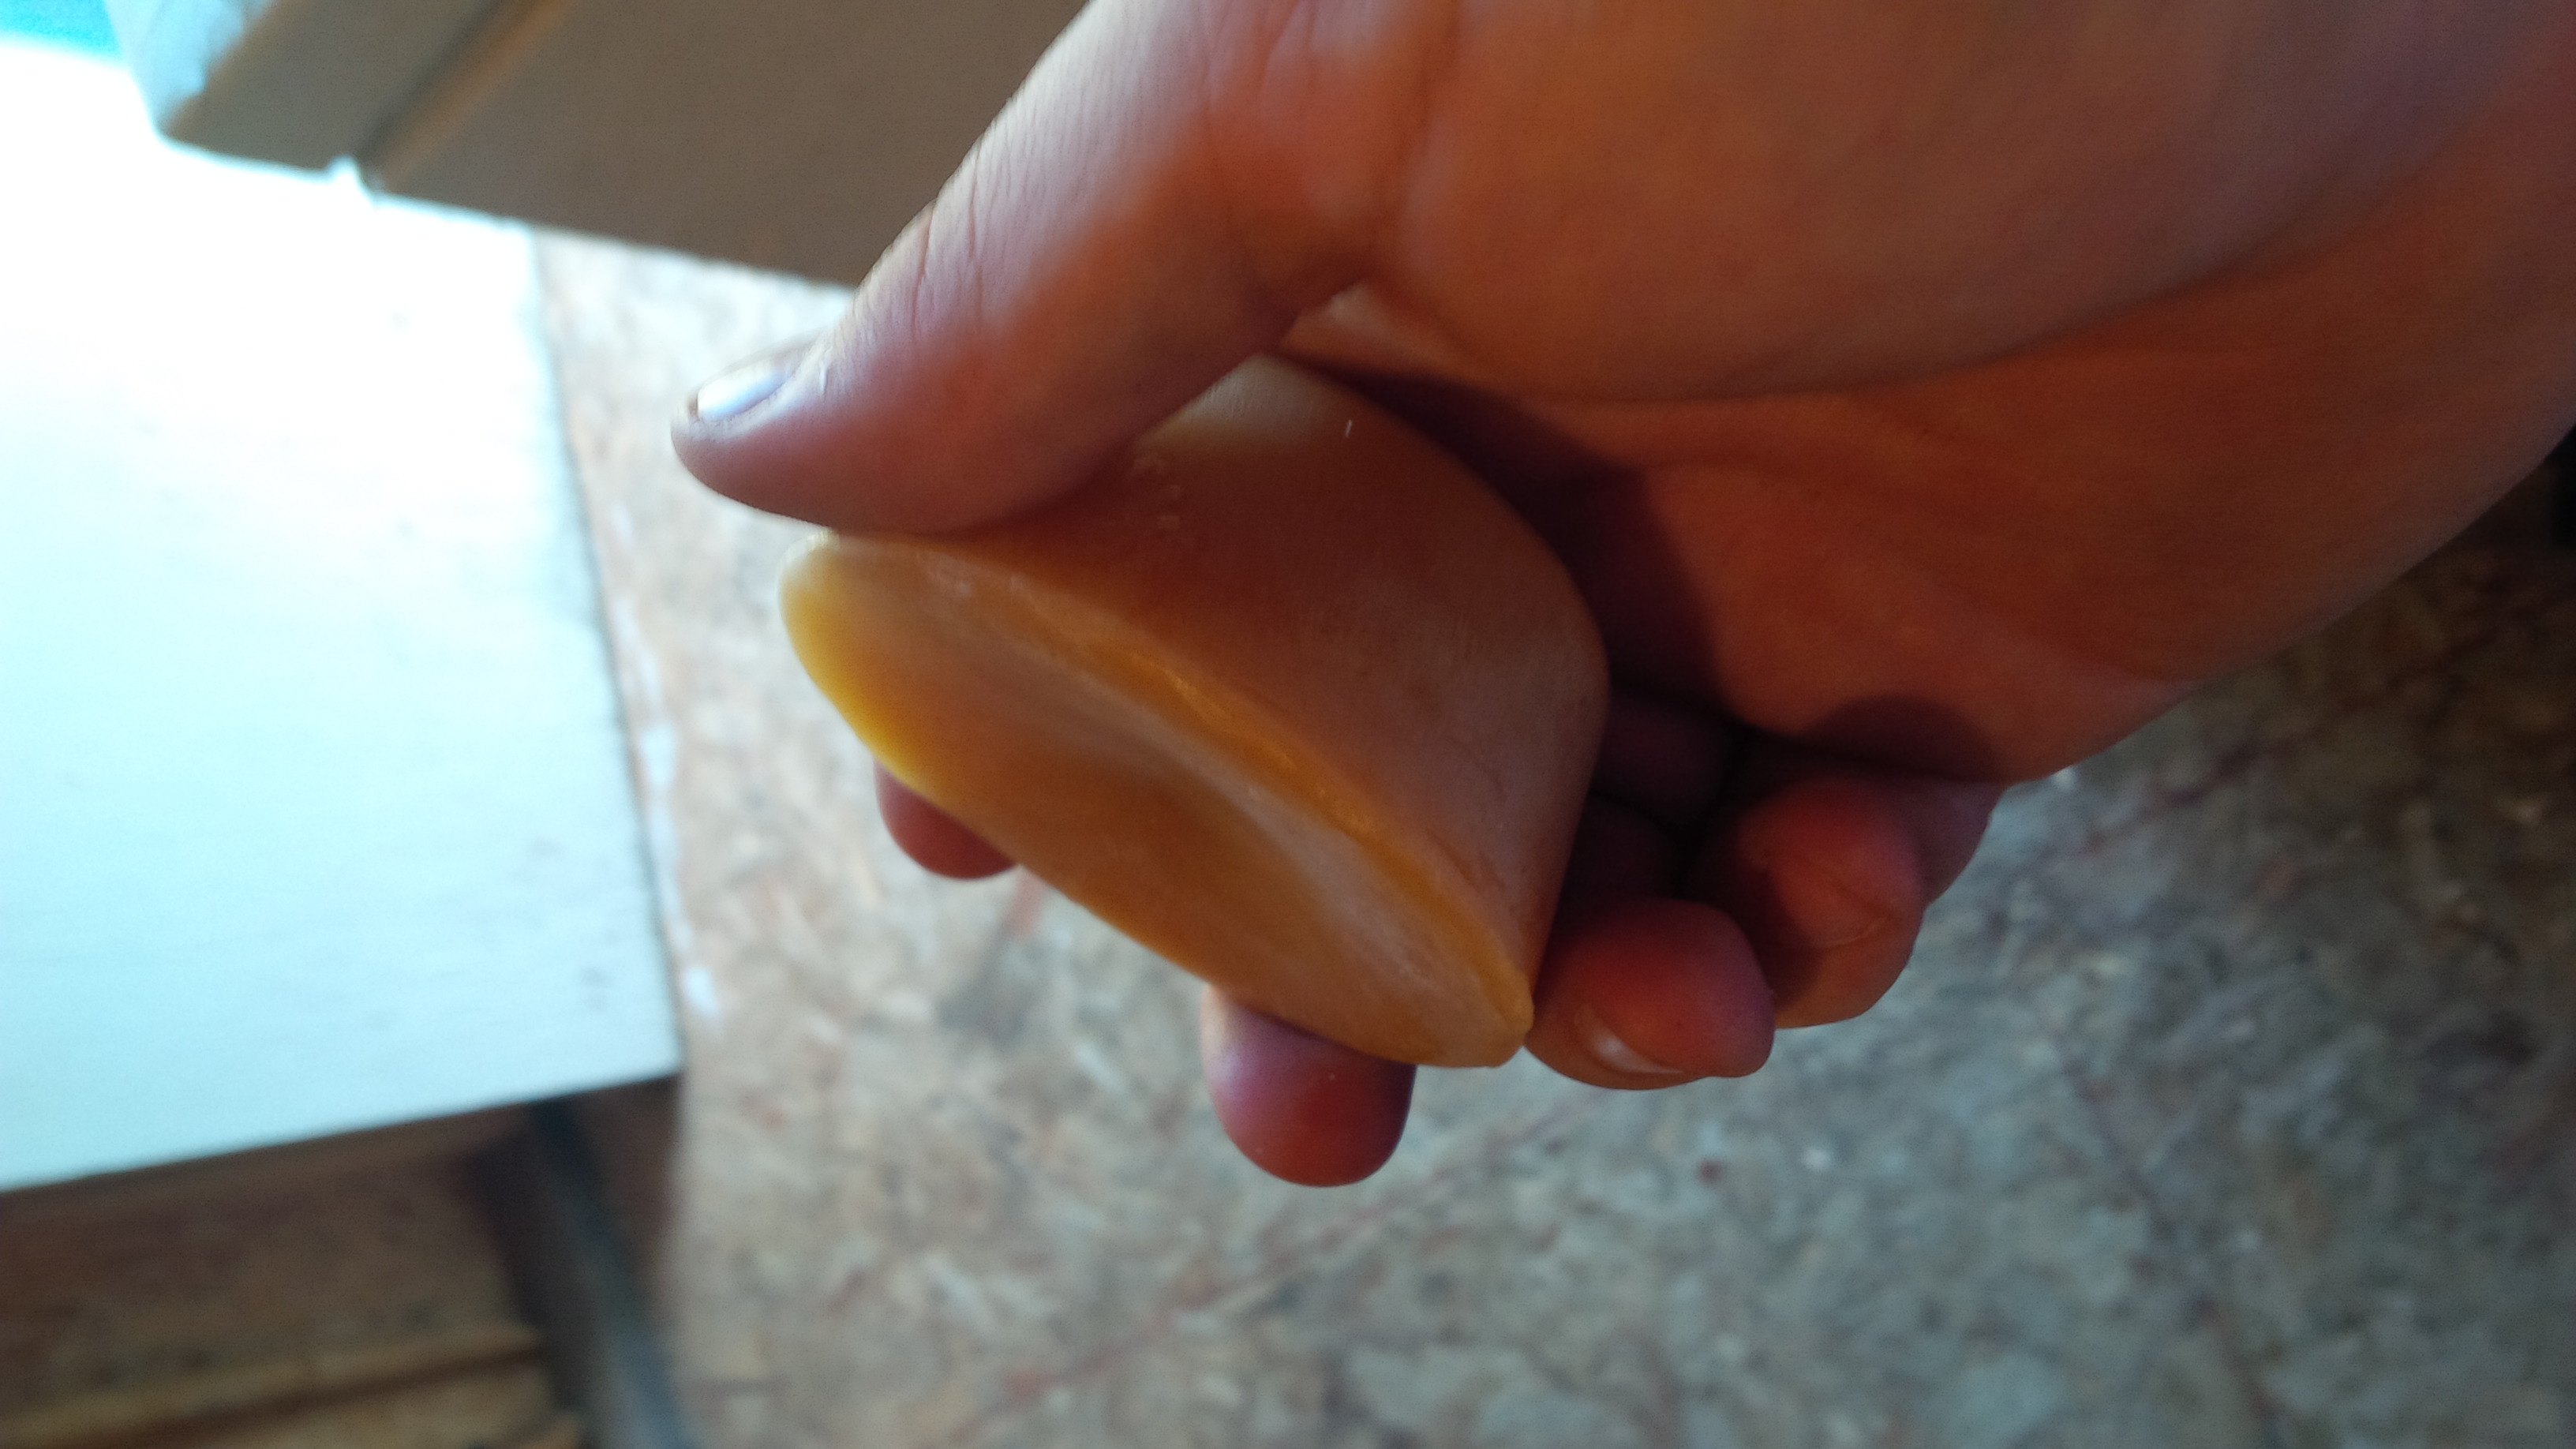
Beeswax for the bowstring.